
July 19, 2025
Installing a doorbell transformer is a crucial task for any Aussie homeowner. It necessitates proper tools and expertise to ensure safe and accurate installation. This article will present a step-by-step guide on how to install a doorbell transformer, starting with gathering the required tools and ending with testing the doorbell. By following these instructions, Australian homeowners can feel assured in their capacity to complete this task effortlessly.
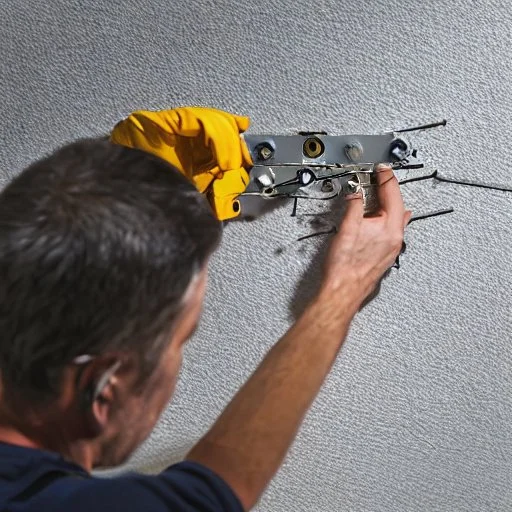
Gather a set of tools, including a screwdriver, voltage tester, wire strippers, and pliers to ensure successful installation of the doorbell transformer.
It is important to review safety protocols prior to beginning installation. Make sure the power is off using a voltage tester and that all components are securely earthed. Measuring voltage accurately also helps ensure proper installation of the doorbell transformer.
Care must be taken when measuring with an electrical meter to avoid any potential hazards or damage to the equipment. With these precautions in place, individuals can proceed confidently with their installation knowing it will take place safely and correctly. Installing a doorbell transformer is a crucial task for any Aussie homeowner. It necessitates proper tools and expertise to ensure safe and accurate installation. This article will present a step-by-step guide on how to install a doorbell transformer, starting with gathering the required tools and ending with testing the doorbell. By following these instructions, Australian homeowners can feel assured in their capacity to complete this task effortlessly.
Turning off the power is a crucial first step when replacing a doorbell transformer. Doing so prior to beginning any DIY installation can help ensure increased safety for both you and your home. It's important to check with local guidelines and consult a professional if necessary before turning off the power or attempting any electrical work on your own.
To make the process easier, ensure that you have all the necessary tools on hand, including a voltage tester and screwdriver. Once you're prepared, turn off the circuit breaker supplying electricity to your doorbell's current transformer. After shutting it down, use the voltage tester near each connection point of the transformer to double-check that no power is running.
By following these tips, you'll be able to successfully replace your doorbell transformer and increase safety when working with electricity.
Carefully mounting the transformer is a crucial step in replacing your doorbell system. To ensure a successful installation, it is important to follow safety precautions and consider installation tips provided by the manufacturer.
The most common way to mount the transformer is to attach it directly to the wall near where you want the doorbell button installed. It should be located close enough for easy wiring but far enough away from any water sources or other areas of high humidity that could cause damage or corrosion. Use screws or another appropriate fastener and make sure that it is firmly secured to the wall before connecting any wires.
Additionally, if there are already wires connected, take note of them as you will need them when connecting the new doorbell system.
Once all necessary components are in place, the next step is to connect the wires.
The first step is to determine wire gauge and voltage rating for the transformer. A doorbell transformer typically requires a 16 or 18 gauge wire, with a voltage rating of between 12-16 volts. It is important that these requirements are met for the safety of both those installing the transformer and those who will be using it.
Once the correct wire has been determined, it can then be connected to both the power source and to the chime box. This is done by connecting one end of each wire to their respective sources, then securing them tightly with electrical tape or wire nuts. Care should be taken not to cross any wires when connecting them as this could cause an electrical fire or shock hazard.
Once everything has been securely connected, testing can begin to ensure that it functions properly before use.
Once all connections are complete, ya gotta test the system to make sure it's working properly.
To do that, ya gotta make sure the doorbell's in a good spot and ya can hear it from inside the house. This is important for two reasons: one, so ya know when visitors arrive; and two, to avoid any noise from noisy neighbours.
Then ya can check if the wiring's connected right by pressing the doorbell or chime button.
If everything's working like it should, a loud chime should sound through the house, letting ya know that the installation was a success.
Installing a doorbell transformer is a fairly simple process. With the appropriate tools and awareness of safety measures, anyone can finish this task quickly.
It is vital to turn off the power before starting any electrical work. Once the transformer is installed and wires are connected, it is crucial to test the doorbell to confirm it is functioning properly before turning the power back on.
By taking these precautions, you can guarantee a successful installation of a new doorbell transformer.

Powering Your Home with Excellence - EA Electrics, Your Trusted Local Electrician
2023 © EA Electrics, All rights reserved.
Designed & Maintained by Locally

